

Here you can see how we taught our OsmAnd app to display Google traffic. Feel free to copy this, of course, at your own risk.
The explanation and screenshots are based on iOS; they may vary slightly on Android.
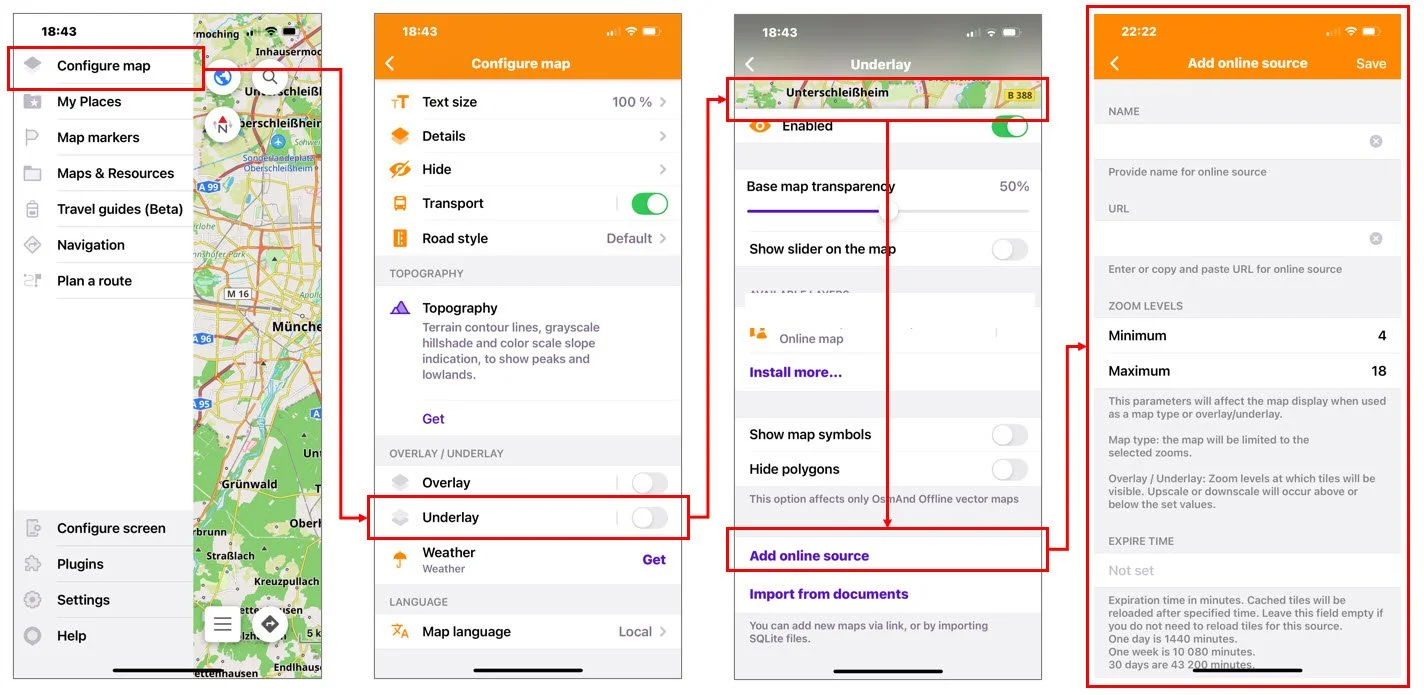
On the "Add Online Source" page, we entered the following information:
Name
Google Traffic
URL
http://mts0.googleapis.com/vt/lyrs=m,traffic&x={1}&y={2}&z={0}&style=3
Zoom Levels - Minimum
1
Zoom Levels - Maximum
22
Expiration Time
5
Mercator Projection
Pseudo-Mercator Projection (this is the default value; don't ask us what this means or what other settings do)
Source Format
One image file per tile (this is also the default value; don't ask us what this means or what other settings do)
Then click "Save"...

You can download our settings here, with four profiles:
street, off-road, POIs (restaurants and filling stations), general POIs: